
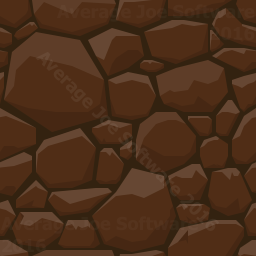
I found plenty of excellent articles on how to do seamless texture tiling on the web but I really didn’t need that fidelity for my project. I have a 4 color background I’m putting together that will serve as the last layer in a dungeon – it needs to be some rocks (or boulders) that will be subtle and provide depth to the scene.
So I got to work. It took awhile – maybe longer than expected but I’m happy with the result for now. I did it all manually but I rather enjoyed the process.
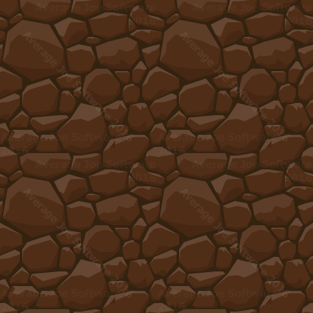
And tiled it looks like this:
Here’s how you can make your own rock tile.
1. Start with a box and some basic shapes
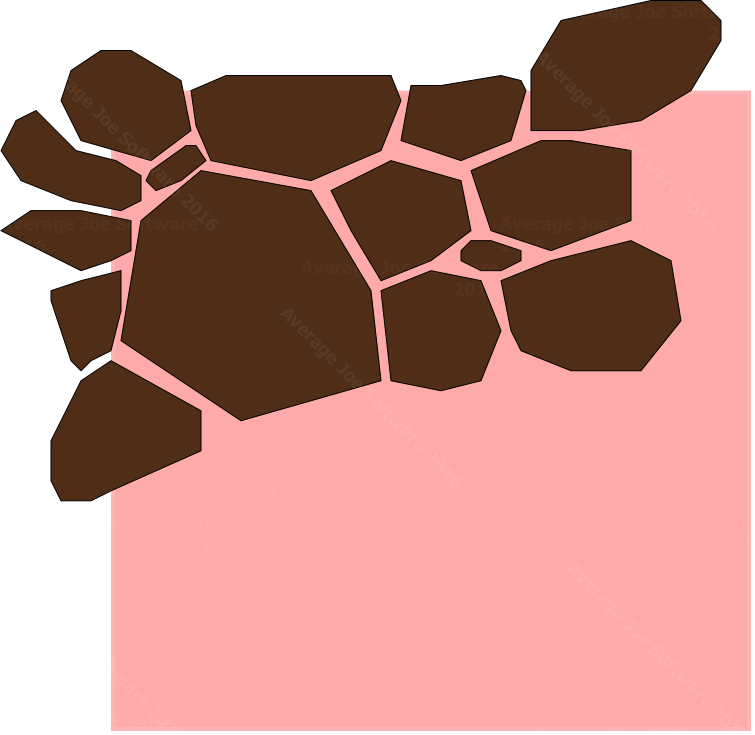
Let the shapes overlap the edges, we’re going to work on tiling in a bit so just worry about the overall piece first.
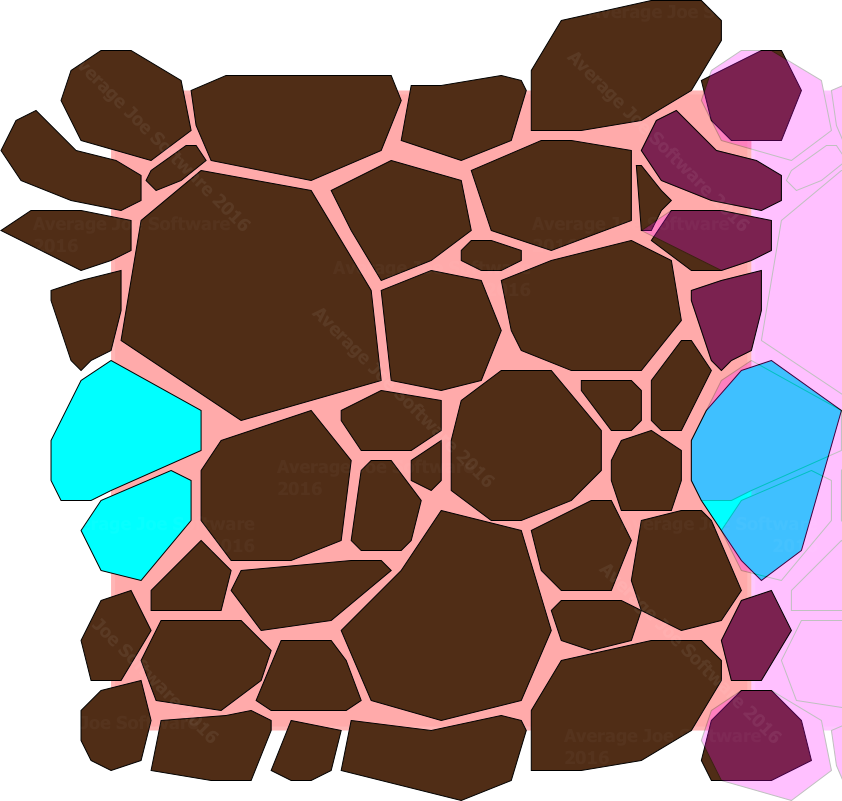
2. And complete it
Once all the shapes are in place it should look something like this. Some of mine are already copied but the approach will be the same.
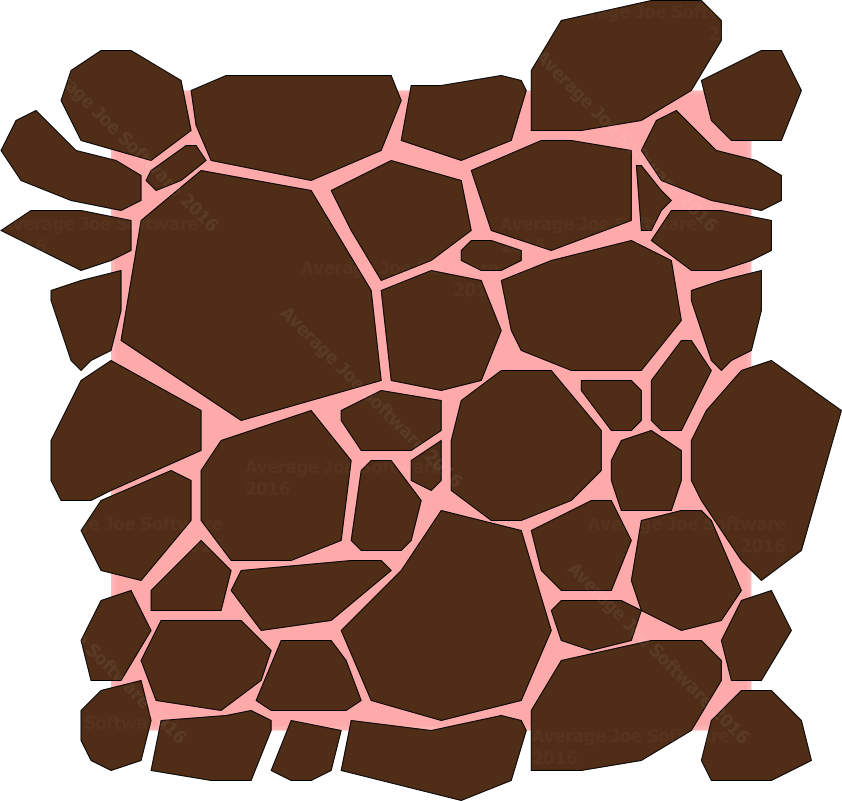
3. Copy it, recolor it, slide it, and overlap it
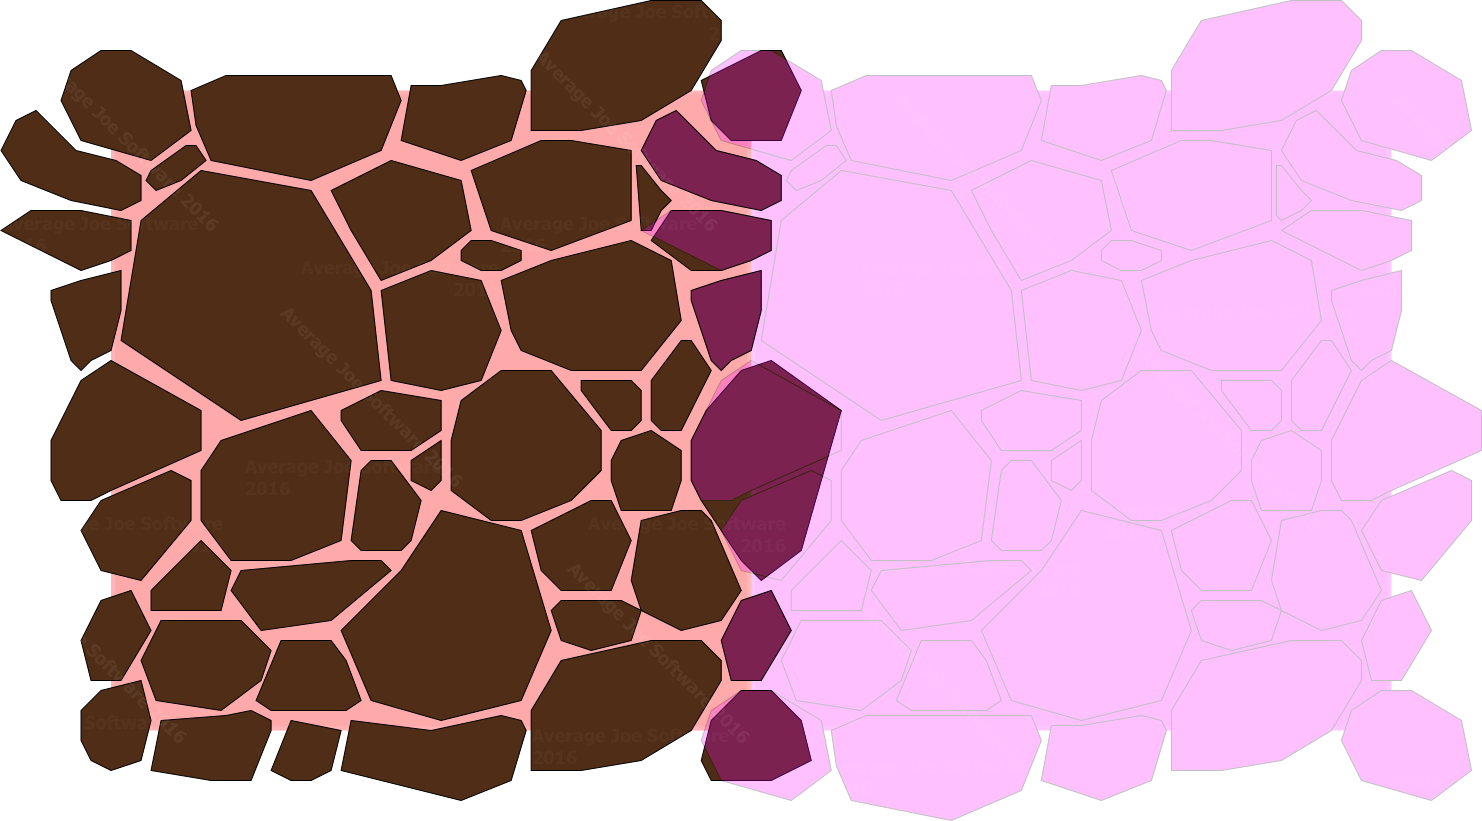
See all those bits that don’t overlap quite right? It’s now time to tweak each one, and as you change it, copy it to the other side to fit it so it tiles properly. You’ll do this twice, once for the sides, and once for the top and bottom.
Yes, this process takes awhile but you’ll be happy with the results!
4. Adjust the shape of each one and size to fit

Some general tips:
– Grab the easiest rocks to work with.
– Adjust as needed.
– When you adjust, copy and paste the items to the opposite side.
– The corners should be done all at once.
After everything is in place you can start coloring highlights and lowlights. As you edit the edge pieces make sure to copy them to the opposite side.